1.Installation Steps
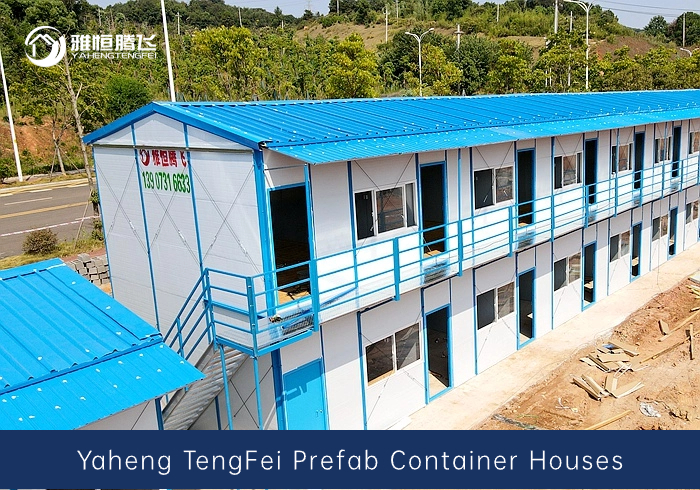
Installation after the Entire Container Arrives at the Site
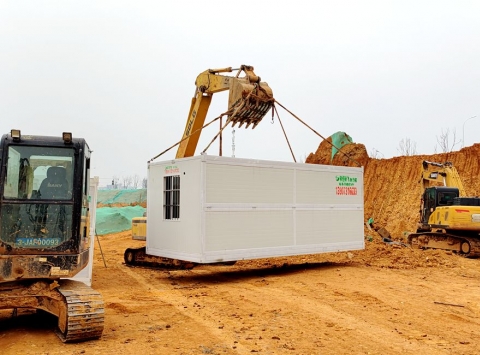
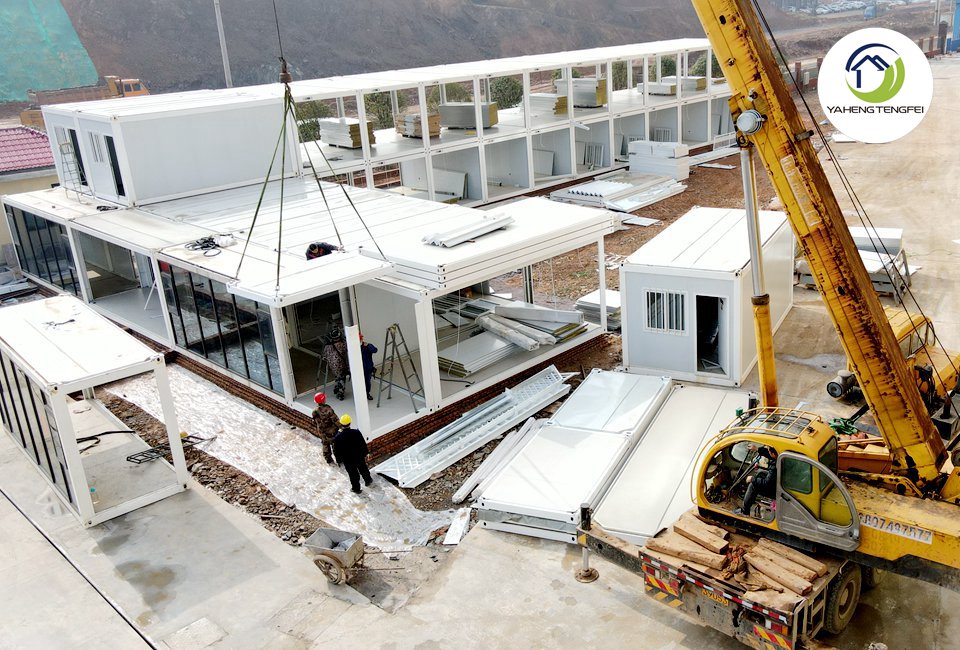
Step 1: Transport the entire container to the installation site and install it after ensuring the foundation is leveled. Use lifting lugs inside the top four corner columns of the container, lift the empty container, maintain balance during the entire lifting process, and install the first layer of containers.
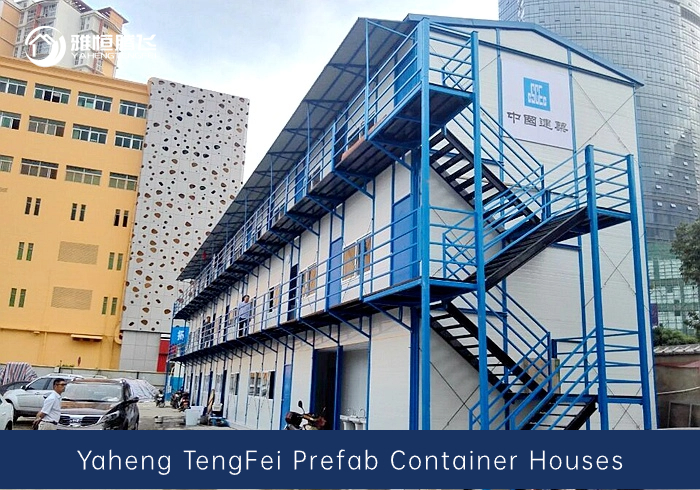
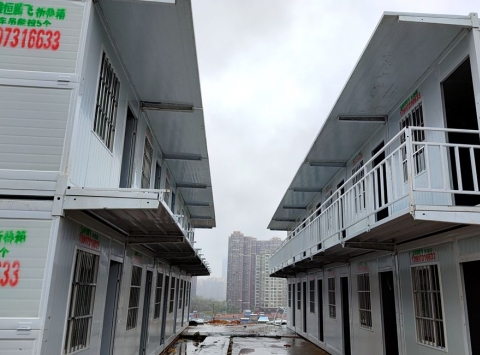
Step 2: Install the second layer of containers, followed by the installation of column top caps. Then, install corridor beams, walkway secondary beams, stairs, walkway boards, railings, rain canopy beams, rain canopy boards, and other equipment.
Step 3: Install the buckle to finish the edges, and apply weather-resistant glue to the joints of the container corner columns.
Step 4: Connect the external power supply to complete the installation.
Installation after Being Dispersed to the Site
Step 1: Choose a flat foundation, correspond the hole positions of the corner columns with the hole positions of the bottom structure components, and fix the four corner columns on the bottom structure using high-strength bolts.
Step 2: Place the top structure on the corner columns, then use high-strength bolts to secure the corner columns and top frame, ensuring a solid connection between the top and bottom structures and corner columns.
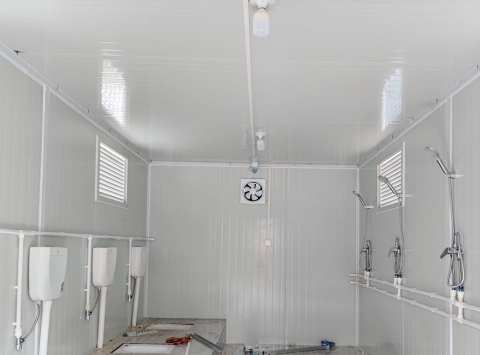
Step 3: Install wall panels according to the layout diagram or customer requirements.
Step 4: Install wires, downpipes, skirting lines, kick lines, door lintels, door handles and locks, and seal gaps with glass glue.

2. Precautions
When lifting the entire container, start lifting from the outermost end of the first floor, and lift the second floor after completing the first-floor container lift.
Check the steel cables during the lifting process, and unrelated personnel should not enter the installation site. It is safer to perform lifting on clear, windless days.
If wall panels are adjusted interchangeably, the positions of sockets, switches, and wire lengths will change. Ensure installation follows the original product drawings.